Manage annotations
Introduction
Unlike in categorization and extraction projects, in thesaurus projects the training of the models is not done with annotated documents—the training library—, but with the definition of the thesaurus concepts and the semantic relationships between them.
However, annotations serve to test the models, by indicating the occurrences of the concepts that are expected to be extracted.
The annotation tool also allows changing the thesaurus by adding and modifying concepts when useful expressions are found in the text.
Annotations are created and modified in the detail view and its related views, and the context view of the Documents tab.
Annotate in detail view
Annotations are mainly performed in the detail view.
To annotate a portion of text:
- Select the portion of text to be annotated: a pop-up menu appears.
-
Select the annotation type.
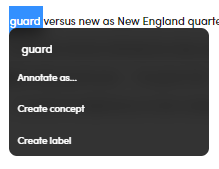
You can select:
- Annotate as...
- Create Concept
- Create label
Annotate as
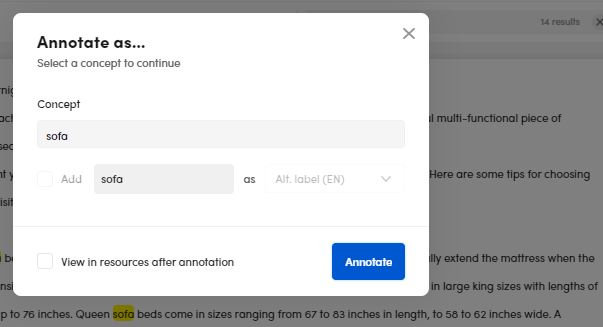
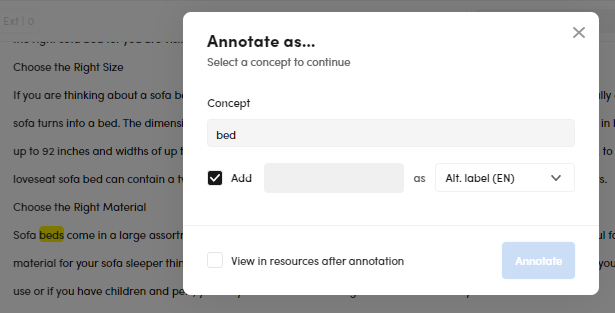
Annotate as displays a window with which a concept can be:
-
Simply annotated, if the form corresponds to the form in the thesaurus node.
-
Added as Alternative label.
-
Added as Hidden label.
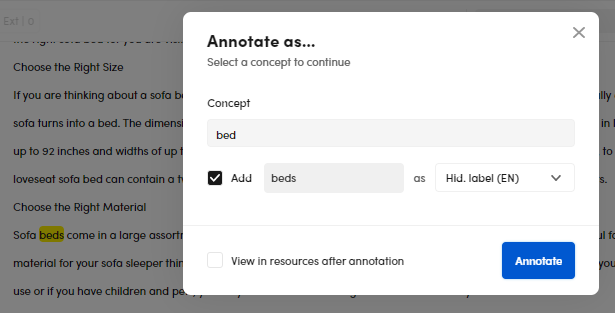
If View in resources after annotation is checked, the Resources tab will be displayed and the concept context will be focused.
Create concept
Create Concept displays a window with which you can create a new concept, organize it in the taxonomy, and annotate it by selecting the toggle button Annotate concept.
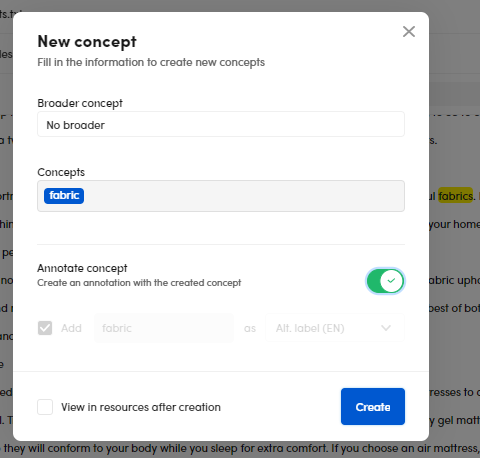
If View in resources after annotation is checked, the Resources tab will be displayed and the concept context will be focused.
Note
You can also create a concept from the Entities or Tokens tab, both in list and detail views.
- Select or hover over the single occurrence of an entity or a token.
-
Select Add new concept.

Create label
Create label displays a window with which you can add a concept as Alternative label or Hidden label.
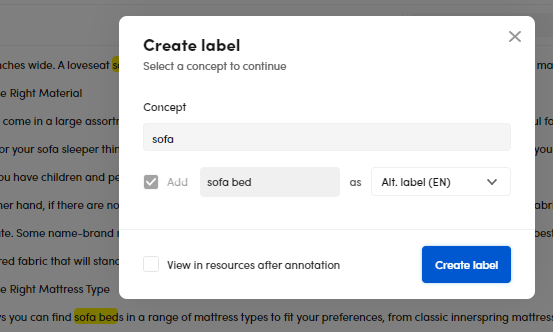
If View in resources after annotation is checked, the Resources tab will be displayed and the concept context will be focused.
Note
- Each time you annotate, delete an annotation, validate a document or remove the validation, a last activity notification appears at the bottom of the text.

- When co-working on a single text, select Refresh each time a cooperator makes an action on a text you're working on.

Annotate an entity or a token
To annotate an occurrence of an entity or token:
- Use the right panel to highlight occurrences of entities and/or tokens in the text, as described in this other article.
- Select the single occurrence of an entity or a token.
- In the text, select the related chip to be annotated: a pop-up menu appears.
- Select the annotation type as described in Annotate in detail view.
Note
To remove the highlighted occurrences:
- Deselect the occurrences.
Or:
- Select the X button
 .
.
Annotation look
Annotations can have these looks:
The first example represents a false negative, the second one represents a false positive, the third one represents a true positive, while the last one represents an extraction to confirm or reject.
The annotation text is underlined in a color corresponding to the concept quality. Below the underlining, THS—standing for Thesaurus— means the concept is part of the thesaurus resources.
The default color is violet which indicates the annotation is a false negative because it does not—or does not yet—correspond to an extraction.
This color is meaningful inside the documents of libraries and after experiments, when you check extraction results. If, after an experiment, the annotated text is extracted as expected, the text color will be green, indicating the annotation was matched (true positive).
The orange indicates a false positive, that is a result that was not annotated but needs confirmation.
The blue represent the generic extracted or annotated value, you can filter these values selecting the Ext or Ann buttons at the top of the document.
Select the Rules button to highlight extractions obtained by rules.
This is how the annotations look when you double-click a value in the Thesaurus panel on the right to perform a search:
The annotation is highlighted with the corresponding quality color and THS is surrounded by a chip. The annotation text turns bold.
Annotate an extraction
To annotate an extraction in detail view, which means confirming that the prediction is correct, select the annotation and:
-
Select Annotate from the pop-up toolbar.
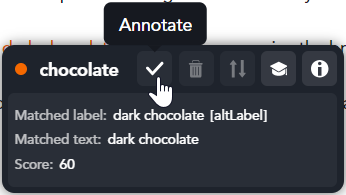
The colored dot in the toolbar turns from orange to green.
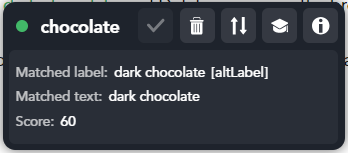
Or, to annotate all extractions of a concept:
- Select the concept from the Thesaurus tab (multiple selection with single-click is allowed).
- Select Annotate selected items
 .
.
Note
- Select Select all
 to select all the concepts from the Thesaurus tab.
 - Select Deselect all
 to deselect all the concepts from the Thesaurus tab.
Note
If you select a single concept, the Select all icon will change to this:  . Click it to select all concepts.
Remove annotations
To remove an annotation from the text in the detail view, select the annotation and choose Remove from the pop-up toolbar.
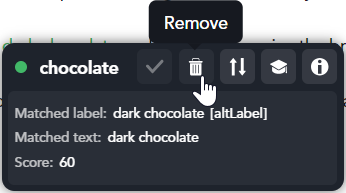
To remove all annotations of a concept:
- Select the concept from the Thesaurus tab (multiple selection with single-click is allowed).
- Select Remove selected annotations
 .
.
Replace an annotation concept
To change the concept of an annotation:
-
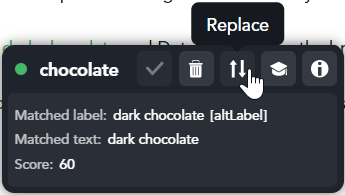
Select the annotation in the text, then choose Replace from the pop-up toolbar.
-
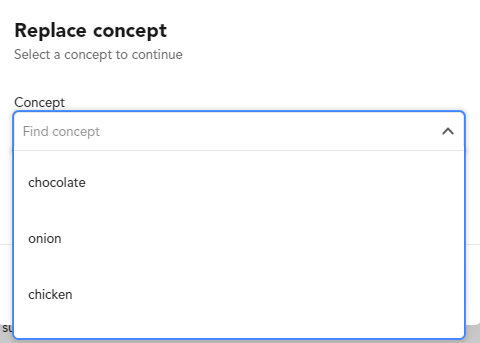
In the pop-up menu, select the new concept.
Show annotated or extracted concepts in the resources
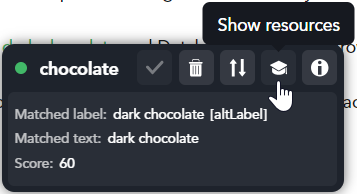
To show an annotated concept in the Resources tab, select an annotation—or an extraction—then select Show resources from the pop-up toolbar.
Or:
- Hover over the concept from the Thesaurus tab on the right and select Show in resources
 .
.
Or:
- Select the concept from the Thesaurus tab on the right and select Show in resources
 .
.
Show information about an annotated or extracted concept
To show information about an annotated concept:
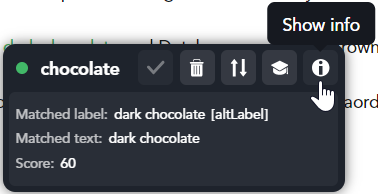
- Select Show info from the pop-up toolbar.
Or:
- Hover over the concept from the Thesaurus tab on the right and select Show information
 .
.
Or:
- Select the concept from the Thesaurus tab on the right and select Show information
 .
.
Information regarding the annotated concept, such as broader concept, preferred label and alternative label, is displayed in a pop-up window.
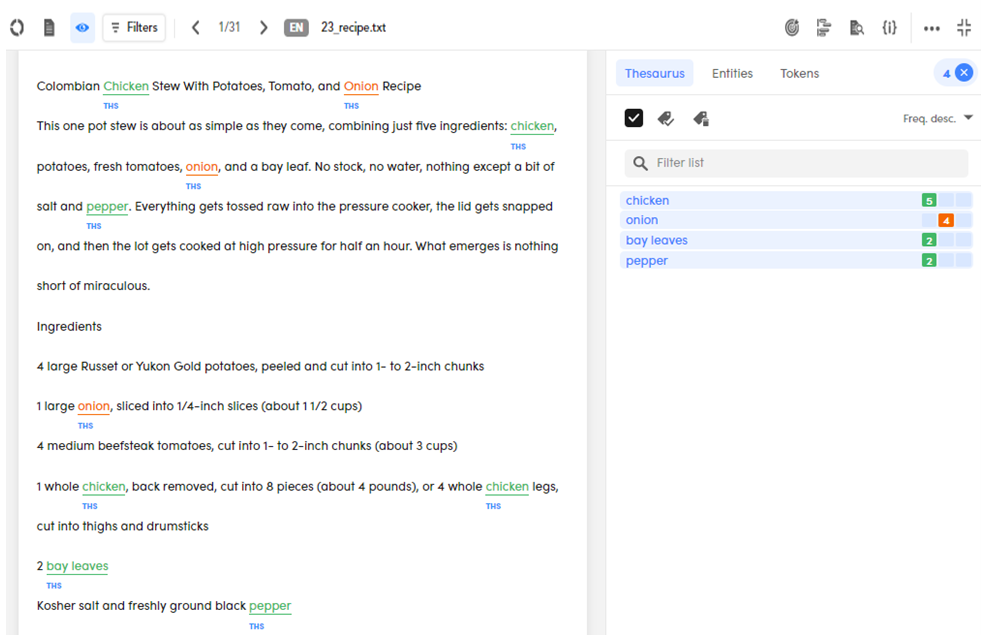
Annotate in immersive view
Annotation management in immersive view is the same as in detail view. Just some collateral tools are missing.
Annotate in PDF document view
Annotation management in PDF document view is the same as in detail view. Just there are some light graphical differences.
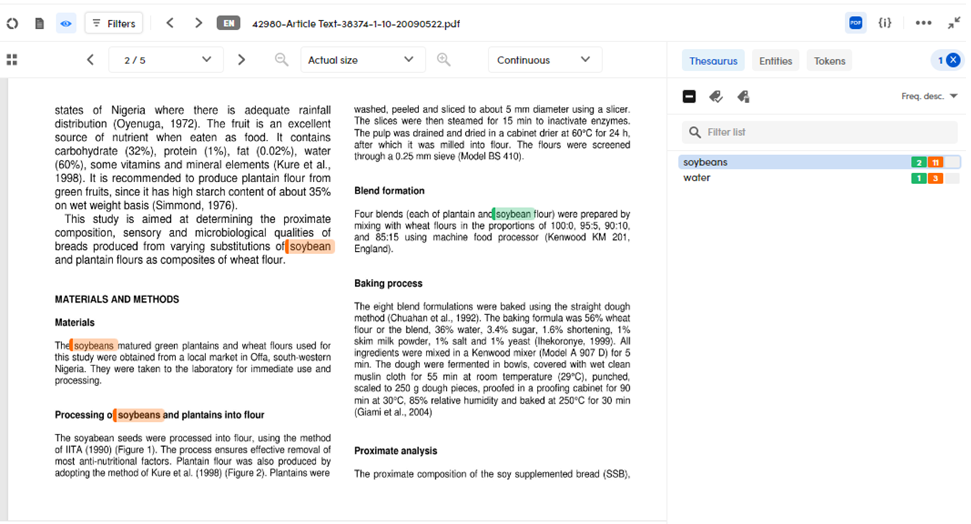
To display the chip quality indicator, hover over the annotation.

Annotate in context view
The context view shows phrasal contexts of extractions and annotations.
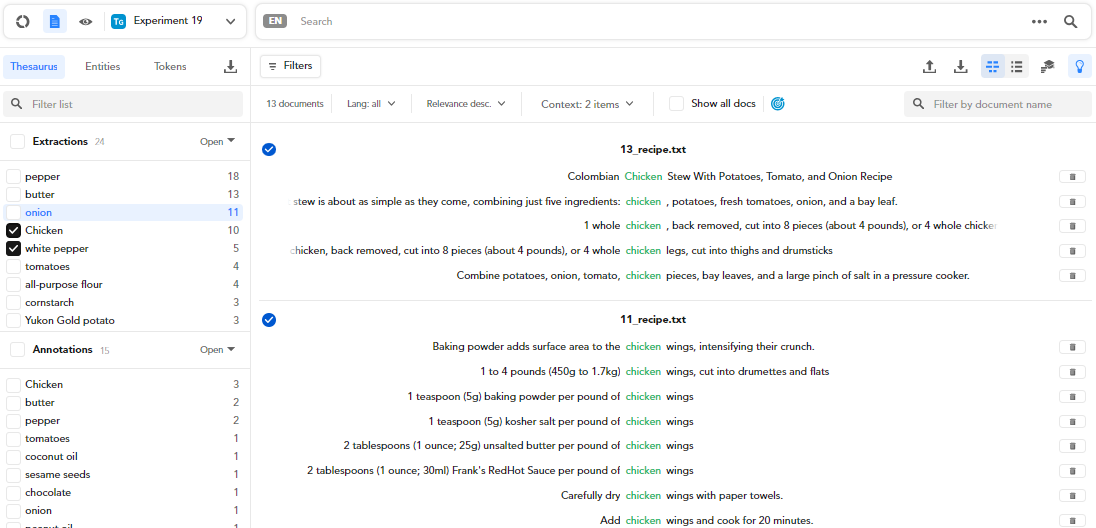
Populate the list
To populate the list:
- Select the Thesaurus tab in the left panel.
- Select the checkbox at the left of the values of interest.
Unpopulate the list
To unpopulate the list:
- Deselect the checkboxes.
Or:
- Deselect the concepts from the Context dropdown menu.
Confirm an extraction
-
To confirm an annotation or an extraction:
- Hover over it and select the annotation icon
 .
.
Or:
- Select it and select the annotation icon
 .
.
- Hover over it and select the annotation icon
-
To confirm all annotations or extractions, select the annotation icon
 beside the document title.
Delete an annotation or an extraction
-
To delete an annotation or an extraction:
- Hover over it and select the trash can icon
 .
.
Or:
- Select it and click the trash can icon
 .
.
Or:
- Don't annotate the extraction, it will be removed in the next experiment.
- Hover over it and select the trash can icon
Show the document preview
Once you populate the list, select an extraction or an annotation of a specific document: a preview of the detail view central panel focused on the selected item will appear to better manage your annotations.
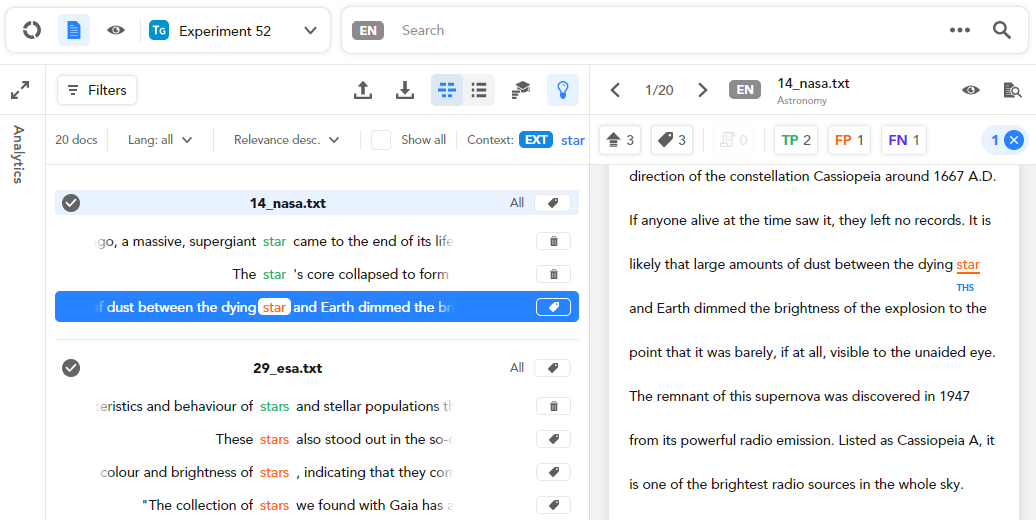
Note
All actions and buttons of the central panel preview are already described in the dedicated page.
You can annotate an extracted value as described in the context view section above or in the central panel preview as described in the detail view section.

If you add an annotation in the central panel preview, the annotation will be reported in the context view.

To open the document in detail view and annotate it, select Annotate documents  in the upper right corner of the central panel preview.


