Upload documents
You can use the upload wizard to load documents—possibly along annotations—in a library or corpus:
- As a step of the creation wizard of corpus, categorization, extraction and thesaurus projects.
- When managing a library, whether when creating it or when you want to add documents to it, also from the Documents tab.
Wizard steps
These are the steps of the wizard:
-
In the Upload documents dialog, select Add files then select the files to upload. Multiple selection with
CtrlandShiftis allowed.Supported file formats are those managed by the Apache Tika toolkit.
ZIP files are treated as containers of files—possibly nested in sub-folders—of any other supported format unless they are internally structured as document exchange archives. In tha latter case, the ZIP files can also contain annotations.A document is not uploaded if:
- No text is extracted from the file.
- Text mainly consist of nonsense words.
- In case of automatic language recognition, text language is unrecognized or not supported.
-
File size exceeds:
- 200 MB for
.zipfiles. - 1 MB for
.txtfiles. - 100 MB for other file types.
- 200 MB for
After you confirm your selection, four tabs are displayed: Documents, Settings, Structure and PDF management, with the Settings tab selected.
You can select Add files again to add more files.
-
Review documents and settings.
-
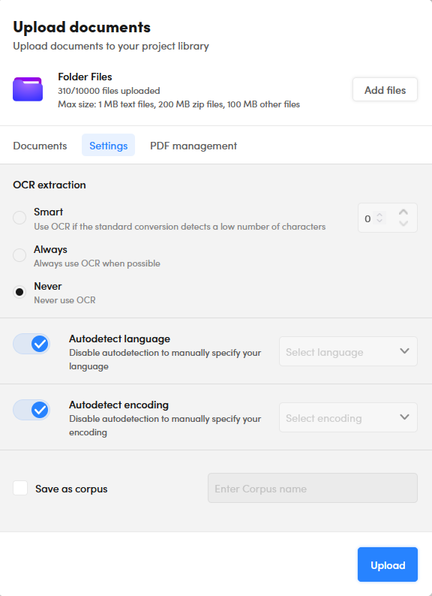
In the Settings tab:
-
Set the OCR extraction strategy. OCR is applied to image files and PDF files containing images.
You can choose between:- Smart: OCR is used only if the extraction of text from the file without OCR gets less than the specified number of characters.
- Always: OCR is always performed if file format is suitable.
- Never: OCR is not used to extract characters.
-
Turn off Autodetect language if you want to disable automatic language detection, then choose the documents' language from the dropdown list.
- Turn off Autodetect encoding if you want to disable automatic character encoding detection, then choose the documents' encoding from the dropdown list.
-
If you are not adding documents to a corpus, you can also save the uploaded documents as a new corpus that you can later use as a source of documents for libraries. To do so:
- Check Save as corpus.
- Enter the name of the new corpus in the text box beside the checkbox.
-
-
The Documents tab lists the files to upload.
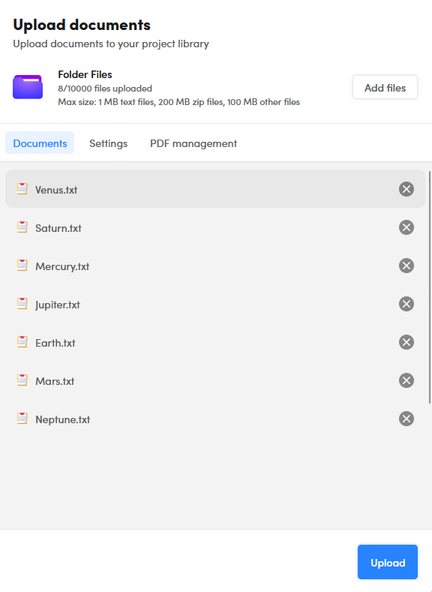
To remove a document from the list, select the X icon
 beside the file name.
 -
In the Structure tab—available for categorization, extraction and thesaurus projects—you can set the options to deal with documents having sections' annotations.
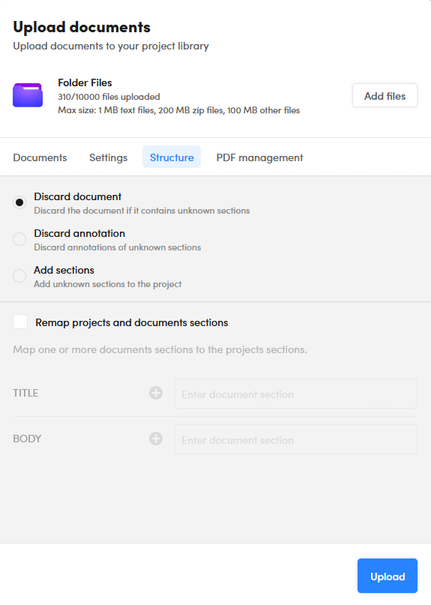
- Discard document: documents with annotations of sections that are not already defined in the project are discarded.
- Discard annotation: the annotations of sections that are not defined in the project are discarded.
- Add sections: annotated sections which are not already defined in the project are added to the project.
If one or more sections are already defined in the project, there is also this option:
-
Remap projects and documents sections. It allows you to map sections that are annotated in the ZIP file to sections that are already defined in the project. If you map annotated section S2 to project section S1, for example, all annotations for section S2 will be stored in the project as annotations of section S1. Section S2 will non be added to project sections.
-
To map an annotated section to a project section, type the name of the annotated section in the text box beside the name of the project section and click elsewhere inside the dialog.
If you want to remap more annotated sections to the same project section, select the plus icon beside the first text box: a new text box appears below where you can enter the name of the annotated section.
Repeat as above to continue mapping annotated sections to the same project section.
beside the first text box: a new text box appears below where you can enter the name of the annotated section.
Repeat as above to continue mapping annotated sections to the same project section. -
To remove a mapping, hover over the annotated section name and select the trash bin icon
 .
.
-
-
In the PDF management tab, you can set the options for PDF files.
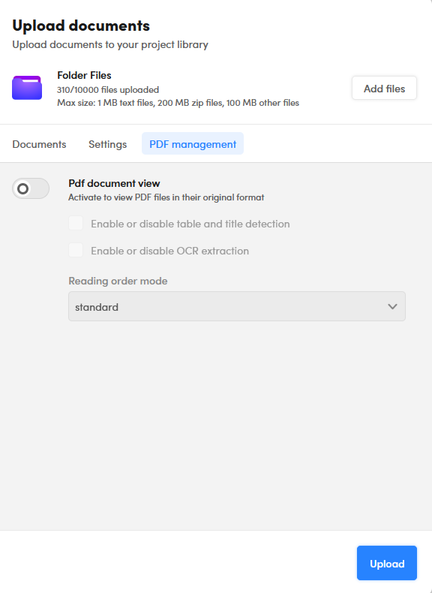
Turn on PDF document view if you want to process PDF file with expert.ai Extract technology. This allows text to be extracted along with the graphic layout of each page rather than plain text. With this option active, you will then be able to view and annotate the documents in the detail view within a rendering that reproduces the graphic layout of the original. With PDF document view you have the following options:
- Enable or disable table and title detection to toggle the detection of tables and titles.
-
Enable or disable OCR extraction to toggle OCR extraction for scanned pages or images.
Note
When PDF document view is turned on, the options set in the Settings tab—including OCR extraction—are ignored for PDF files.
-
Reading order mode to choose the algorithm used to extract text from pages:
- standard: the algorithm tries to find the way in which a human would read the text blocks on the page. Best for multi-column or mixed layout pages.
- vertical: the algorithm considers the page as single-column.
- auto: the algorithm classifies each page based on its layout then automatically chooses between standard and vertical to extract text.
-
-
Select Upload (or Create, if in a corpus creation wizard) to start the upload process.
During upload, documents' text goes through a Natural Language Understanding (NLU) analysis and documents get indexed on the extracted features.