Edit project settings
Overview
Select Project settings  .
.
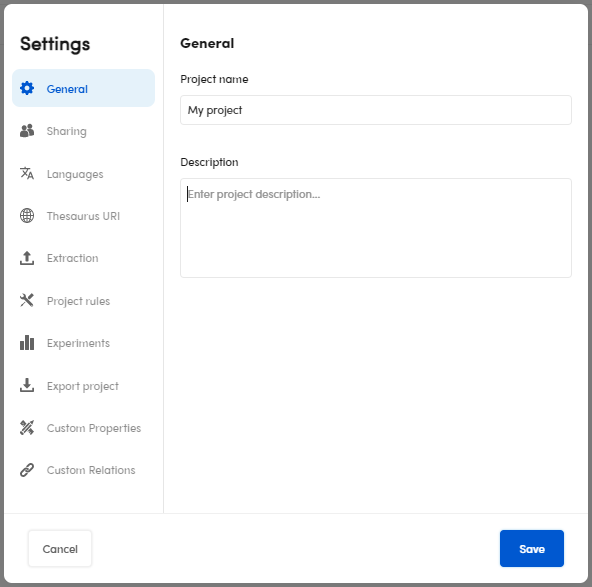
Project name
To change the project name, select the General tab, then enter the project name and the optional description, then select Save.
Note
To edit the General tab, you can also:
- Go to the main dashboard and select your project.
- In the Project info panel, select Edit
 .
.
Project sharing
In case you need to change the sharing properties only, in the main dashboard:
- Select a thesaurus project.
- In the Project info area, select Share
 .
.
Share the project with a team member and grant permissions
In the Sharing tab:
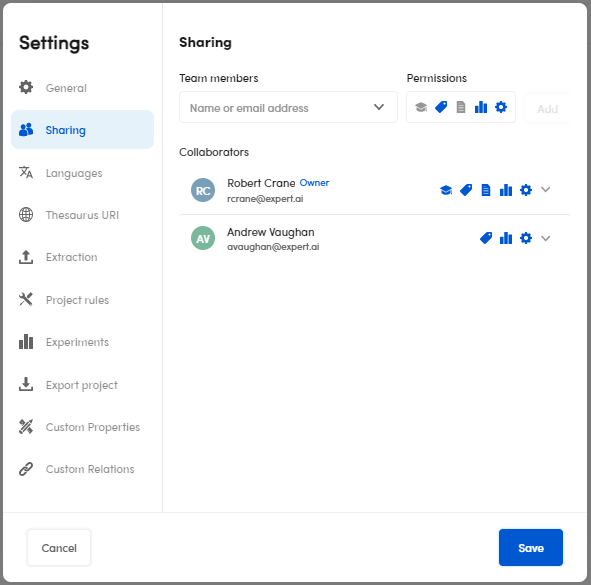
- Enter the email address or the name in Team members.
- Select the permissions to grant under Permissions:
- Edit resources

- Annotate documents

- Edit document and libraries
- Manage experiments and models

- Settings

- Edit resources
- Select Add.
- Select Save to confirm.
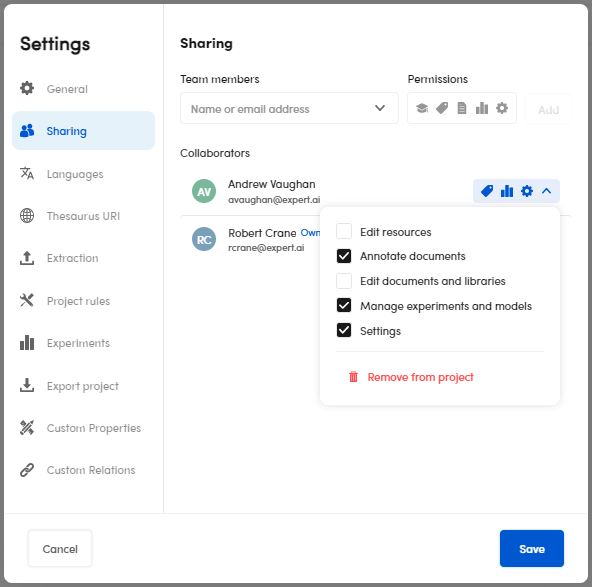
Grant or revoke permissions or remove a collaborator
- Select the permissions drop-down menu of a member from the Collaborators list.
- To grant or revoke the permissions respectively select or deselect one or more of the following:
- Edit resources
- Annotate documents
- Edit document and libraries
- Manage experiments and models
- Settings
- To remove the team member select Remove from project.
- To grant or revoke the permissions respectively select or deselect one or more of the following:
- Select Save to confirm.
Change the favorite language
Select the Languages tab, then:
- In the Favourite language drop-down menu, select your favourite one in case of multi-language projects.
- In the Project languages area, select the other project languages.
- When done, select Save.

Change the Thesaurus URI
In the Thesaurus URI tab:
- Select the favorite one in the Favourite URI drop-down list.
- To add a new URI, select Add new URI and enter the new identifier.
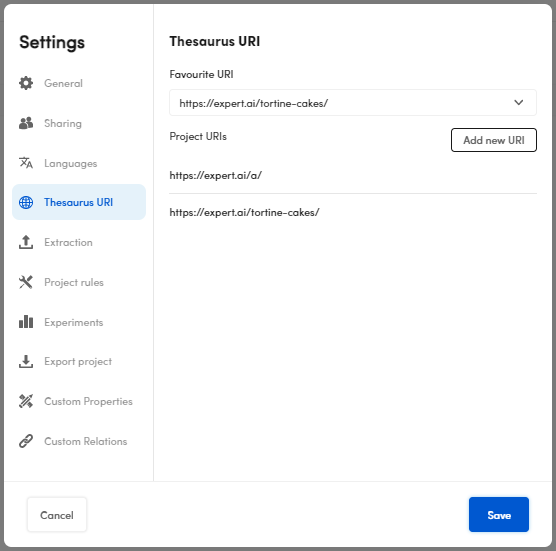
- To edit the name of an existing URI, hover over the URI in Project URIs and select the pencil icon

- To delete an existing URI, hover over the URI in Project URIs and select the X icon
 .
.
Select Save to confirm each of the operations above.
Note
You can delete an existing URI only if there are at least two of them.
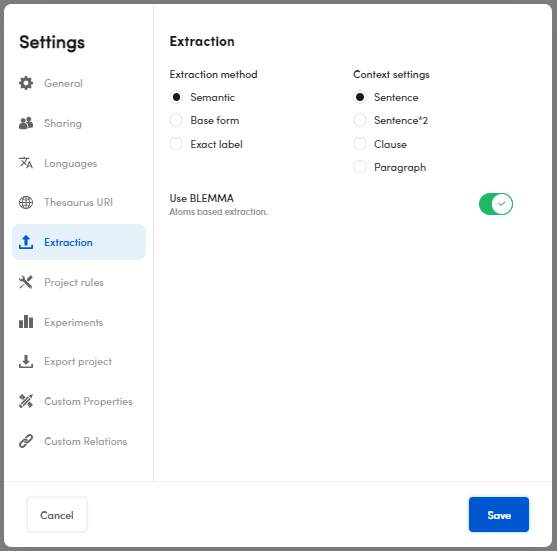
Extraction
In the Extraction tab:
- Select the Extraction method and the Context settings.
- Switch on/off the Use BLEMMA button.
- Select Save.
Project rules
A thesaurus project generates extraction rules for the concept field of the thesaurus template.
In the Project rules tab, you can change the default name of the Template and the Field.
The Batch/File granularity parameter allows you to establish the desired number of concepts—each one of them having a variable quantity of rules—to insert into a rules file.
Selecting a specific value allows the creation of either more rules files with less rules and concepts, or less rules files with more rules and concepts.
When done, select Save.

Experiment metrics policy
To select the preferred metrics policy, in the Experiments tab, select one of the following:
- Micro average
- Macro average
- Sample average
- Weighted average
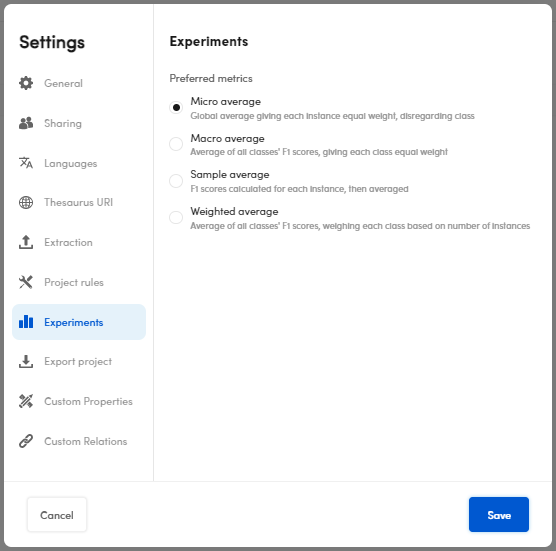
Select Save to confirm.
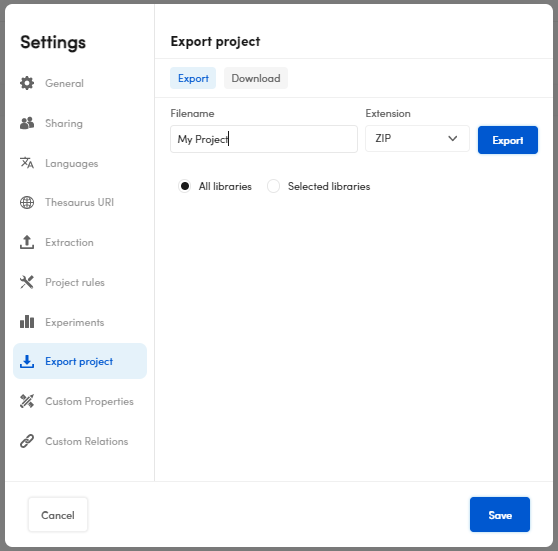
Export project
To export your project in a .zip format, in the Export project tab, Export window:
- Type the name or confirm the suggested one.
- Select All libraries to export all your libraries, then select Export.
Or:
- Select Selected libraries and choose the libraries you want from the list, then select Export.
- In the Download tab or in the notification in the lower right corner, select Download.
Note
To export your project, you can also:
- Go to the main dashboard and select your project.
-
In the Project info panel, select Edit
.Or:
In the Project info panel, select Export
 .
.
Custom properties
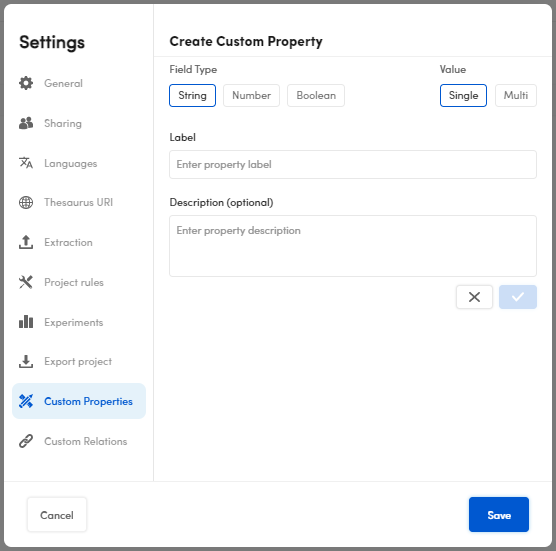
Create a custom property
If you don't have any custom properties set, for example imported from a SKOS, in the Custom Properties tab:
- Select

-
Select the Field Type and the Value. The possible combinations are:
Field Type Value String Multi or Single Number Multi or Single Boolean Single -
Enter the property label in Label.
- Enter the optional description in Description.
- Select
 to confirm or
  to cancel.
 - Select Save to save it.
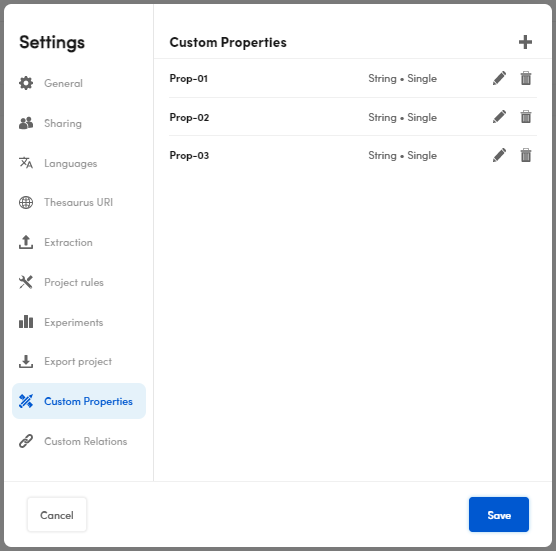
Edit and remove a custom property
To edit a custom property, select beside it.
To remove a custom property, select  beside it.
Warning
The removal of a property involves the deletion of all the values eventually entered.
When done, select Save.
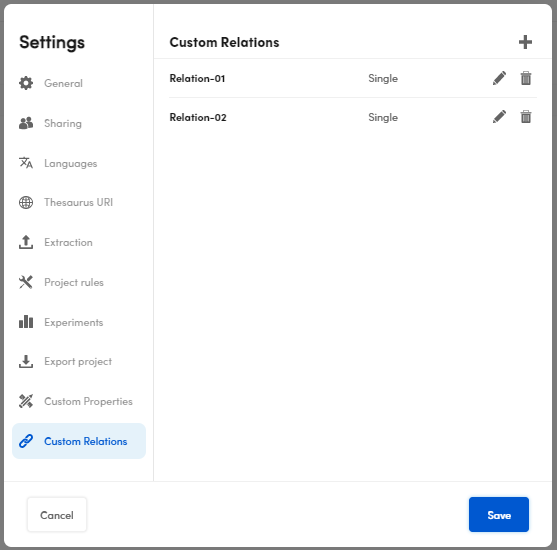
Custom relations
Create a custom relation
If you don't have any custom relations set, for example imported from a SKOS, in the Custom Relations tab:
- Select
- Select the Value between Multi or Single:
- Enter the relation label in Label.
- Enter the optional description in Description.
- Select to confirm or to cancel.
- Select Save to confirm.

Edit and remove a custom relation
To edit a custom relation, select beside it.
To remove a custom relation, select beside it.
Warning
The removal of a relation involves the deletion of all the values eventually entered.
When done, select Save.