Libraries management
The libraries management is the same for all the project types but it is not available for corpora.
To change the library
-
Open the Select project library drop-down menu.

-
Select the library of your interest.
The libraries dashboard
Manage the libraries of the project using the appropriate dashboard.
To access the dashboard:
- Open the Select project library drop-down menu.
-
Select Manage libraries.
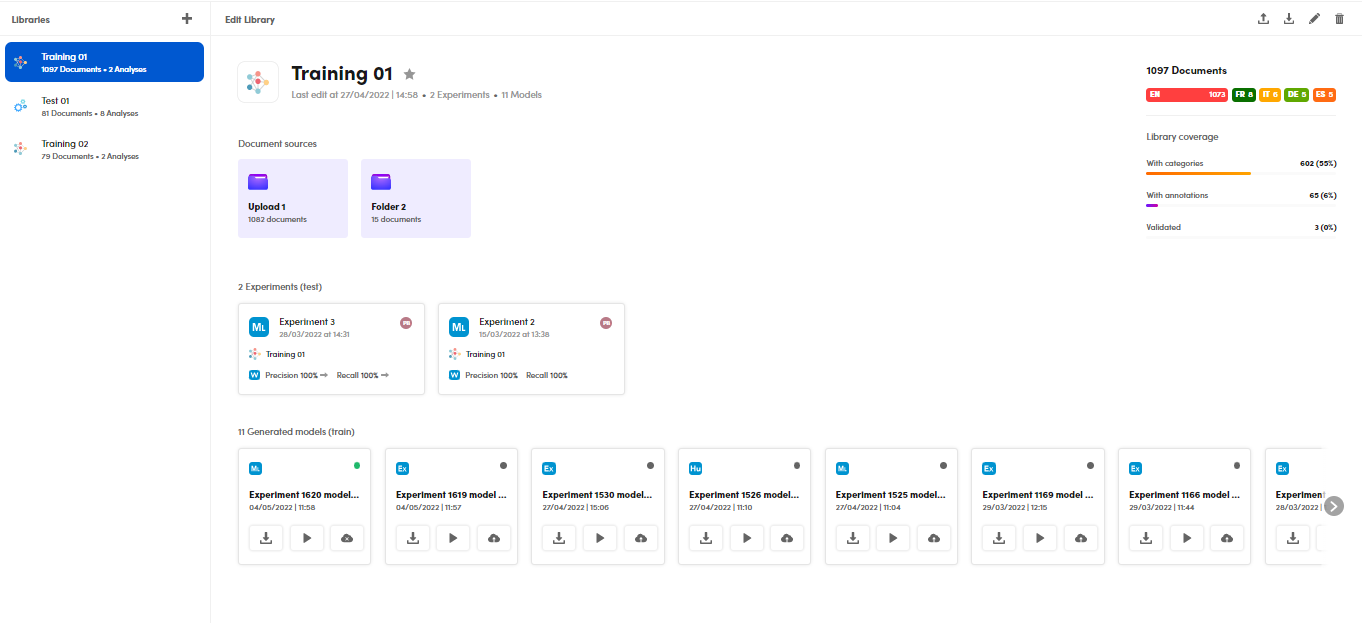
The dashboard shows:
- The libraries project list in the Libraries panel.
- Various data about the library in focus in the Edit Library panel.
Change the library in focus
To change the library in focus, select the library in the Libraries panel list.
Add a new library to the project
To add a new library:
- Select Add library
 in the Libraries panel.
 -
Enter the library name in the New Library dialog and select:
- Training library, if you want to create a training library.
Or:
- Test library, if you want to create a test library.
Or:
- Generic library, if you want to create a generic library.
-
Select Create.
-
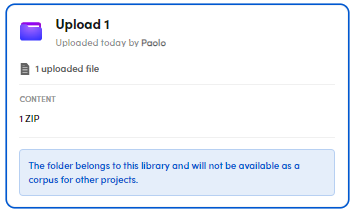
In Corpora and folders, select the source for the library. You can:
- Select an existing corpus. Read Browsing corpora to select a project library to have further information.
- Upload documents. Read Upload documents to have further information.
Warning
A library imported into a new project that was previously exported from another project will only be available as a folder for this new one.
Import an annotated library
Import an annotated library in categorization projects
It is possible to upload annotated libraries on Platform. To upload a new library, see the dedicated section above.
Before uploading the library, an annotated library on your computer has two sub-folders inside it, each one with a specific function:
- test
- ann
The test sub-folder contains all the text files belonging to the annotated library, while the ann sub-folder contains all the files of the previous sub-folder, but with a different extension, .ann.
The main difference is the following: if you open a file located in the ann sub-folder, you will see all the categories that have been annotated in the corresponding text file located in the test sub-folder. You will find the annotations when looking at the documents either in the list view or in the detail view after the upload.
Example
This is a typical example of what you can find in an .ann file:
C1 15000000
C2 20001117
The letter C plus the number—for example 1—stand for the first category that you will see in the text in the Documents tab, while the multiple digit number stands for the category ID defined in your taxonomy.
Import an annotated library in extraction projects
It is possible to upload annotated libraries on Platform. To upload a new library, see the dedicated section above.
Before uploading the library, an annotated library on your computer has two sub-folders inside it, each one with a specific function:
- test
- ann
The test sub-folder contains all the text files belonging to the annotated library, while the ann sub-folder contains all the files of the previous sub-folder, but with a different extension, .ann.
The main difference is the following: if you open a file located in the ann sub-folder, you will see all the classes that have been annotated in the corresponding text file located in the test sub-folder. You will find the annotations when looking at the documents either in the list view or in the detail view after the upload.
Example
This is a typical example of what you can find in an .ann file:
T1 Ingredients.Legumes 116 122 lentils
- The letter T and the number—for example 1—stand for the first extraction that you will see in the text in the Documents tab.
- Ingredients is the name of the group the class belongs to.
- Legumes is the class name belonging to the group.
- 116 122 is the position of the value.
- lentils is the annotated value.
- In case of ungrouped classes, the group name will have the same name of the associated class.
- In case a class or a group consists of only numbers, both of them will be preceded by
X_.
Check the library sources
To check the library sources, see the Document sources area.
Add a library as favorite
To add a library as favorite, select Mark as favorite library. 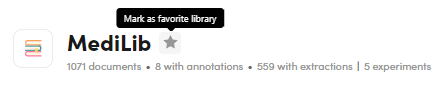
Add documents
To add documents to the library:
- Select the library in Libraries panel.
- Follow the Upload documents procedure.
When the upload is complete, a temporary uploaded corpus is created and immediately merged with the current library. After a while, the library will be automatically refreshed and the new documents will be available.
Export a library
To export a library:
- In the Edit Library panel, select Export library
 .
. - Follow the Export documents procedure.
Edit library name
To edit the library name, select Edit library name  in the Edit Library panel.
Delete a library
To delete a library, Select Delete library  in the Edit Library panel.
Change library type
To change the library type, in the Edit Library panel, select the icon at the left of the library name, then choose one of the following types:
- Training library
- Test library
- Generic library
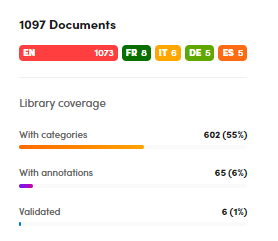
Information about documents count, languages and coverage
Watch the right part of the Edit Library panel.
Library usage
Experiments
To check the library usage in the experiments, watch the Experiments strip.
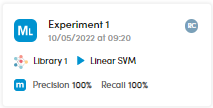
You can see the:
- Experiment name.
- Performance date and time.
- Author of the experiment in the upper right corner.
- Library name and type.
- Model type (if any).
- Engine type.
- Preferred Metrics policy.
- Precision and Recall percentages.
Double-click the experiment card to view it in detail.
Generated models
To check the generated model with the selected library, watch the Generated models strip.

You can see the:
- Model name.
- Engine type.
- Performance date and time.
- A dot in the upper right corner that is green if the model is published.
Export a model
To export a model:
- Select Export model .
- In the dialog, type a name and select Export model .
- Select Download either in the dialog or in the notification in the lower right corner.
Start an experiment
To start an experiment based on a model:
- Select Quick start an experiment
 .
. - In the dialog, type an optional name and select a test library, then Next.
- Check the summary, then select Start.
Publish and unpublish a model
To publish a model:
- Select Publish model
 .
. -
In the dialog, in case of first publishing, type an optional name and select Publish Model.
Note
The dot in the upper right corner will turn green.
To unpublish a model, select Unpublish model  .
.