Annotate in detail view
Portion of text annotation
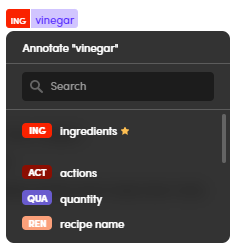
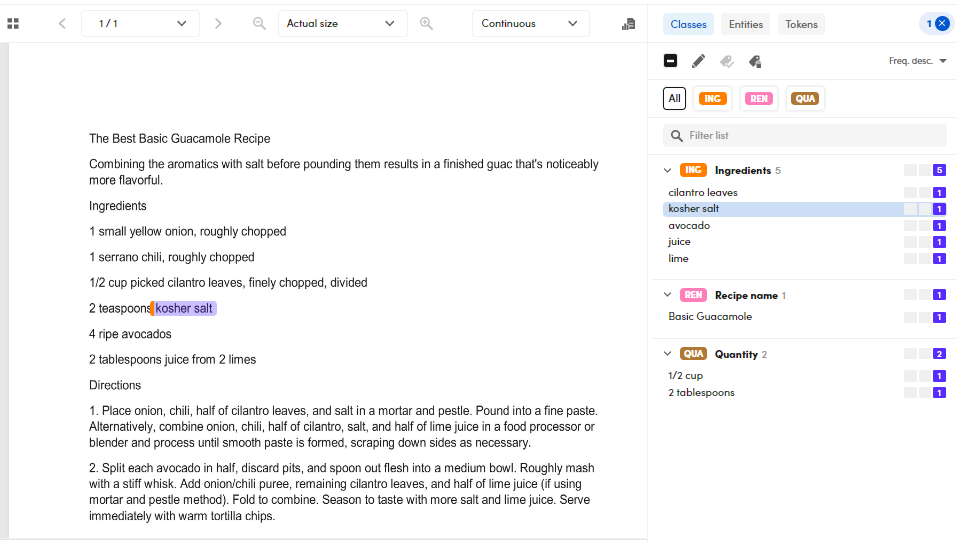
To annotate a portion of text:
- Select the text portion to be annotated.
-
Select the class from the list of the popup.
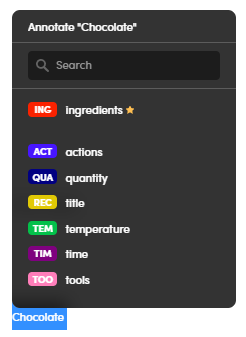
Note
Classes marked as favorite are placed at the top of the list and they are recognizable by the star next to the class name.
To annotate an occurrence of an entity or token:
- Select the Entities tab or the Tokens one in the right panel.
- Select an item to highlight all the occurrences in the document.
- Click the single occurrence.
- Select the class from the list of the popup.
After an annotation or a change, an icon  suggests to refresh the page.
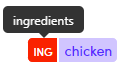
Annotation look
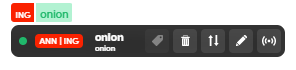
The annotation chip has two colors:
-
On the left, the background color of the short class name. You can set in the Resources tab.
Note
Hover over the short class name to display the full class name in the tooltip.
-
On the right, the background color represents quality, that is the outcome of experiments:
- Violet = FN (False Negative)

- Green = TP (True Positive)

- Orange = FP (False Positive)

- Violet = FN (False Negative)
The default color is violet which indicates the annotation is a false negative because it does not—or does not yet—correspond to an extraction.
This color is meaningful inside the documents of test libraries and after experiments, when you check extraction results. If, after an experiment, the annotated text is extracted as expected, the color will become green, indicating the annotation was matched (true positive).
The orange indicates a false positive, that is a result that was not annotated but needs confirmation.
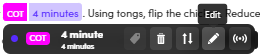
Widen or narrow the annotation chip
To widen or narrow the annotation chip:
- Hover over the side you want to resize.
-
Drag the outline in the desired position.


Fast annotation
To annotate a document with the Fast annotation tool:
- Select Toggle fast mode
 to display the fast annotation toolbar.
 - Select the class you want to annotate.
- Select the portion of text or, if you have highlighted the occurrence of entities and/or tokens, click them in the document.
Example
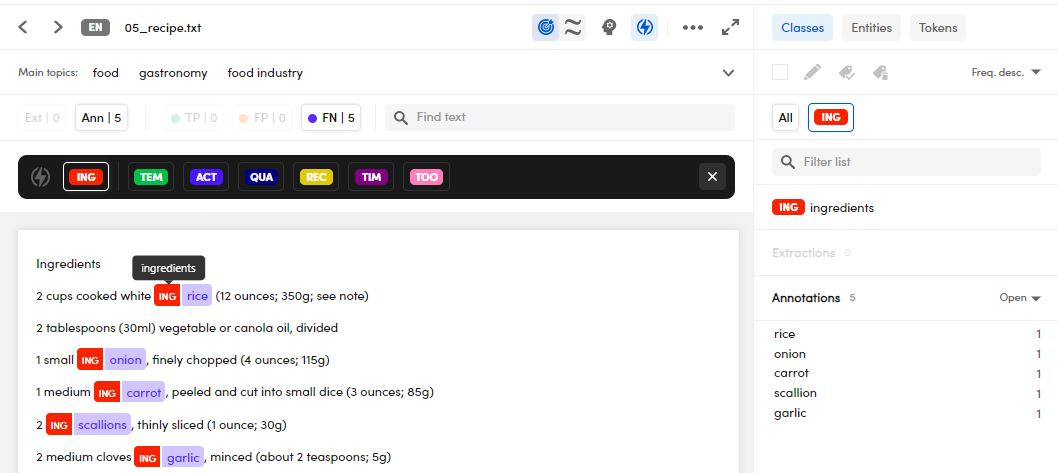
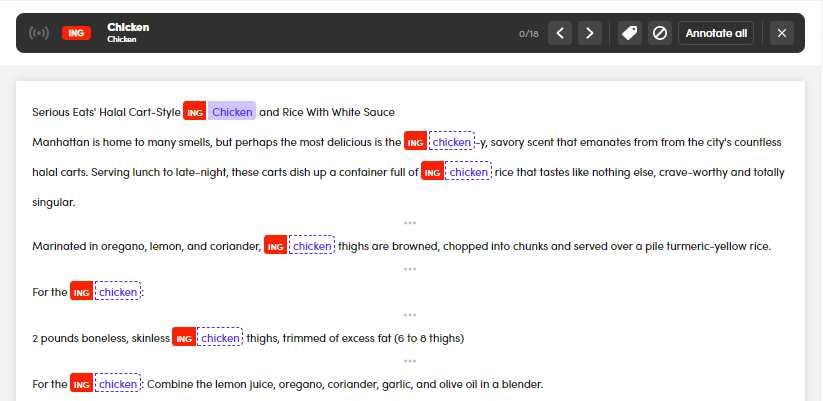
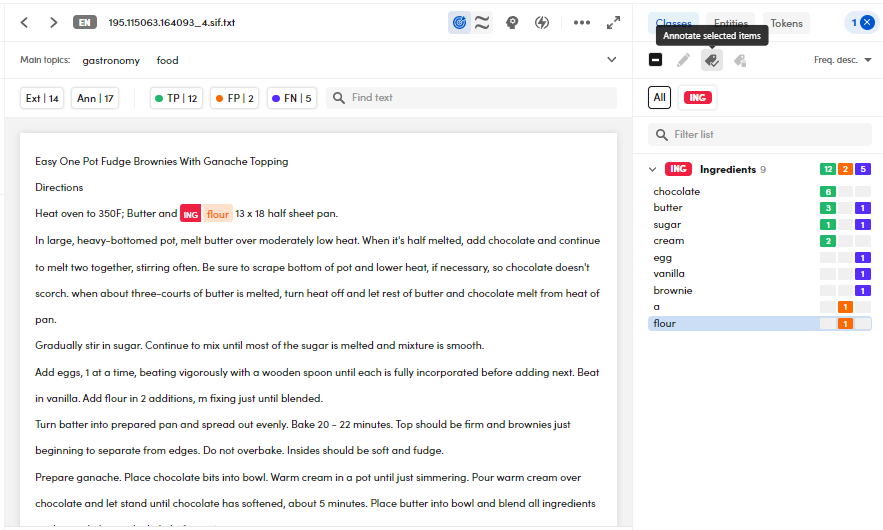
If you want to fast annotate all the ingredients in a recipe:
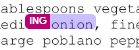
- In the fast annotation bar, select
INGthat is the chip that represents the Ingredients class. -
Select the ingredients in the document and they will automatically be annotated as ingredients and displayed in the Classes tab.
Or:
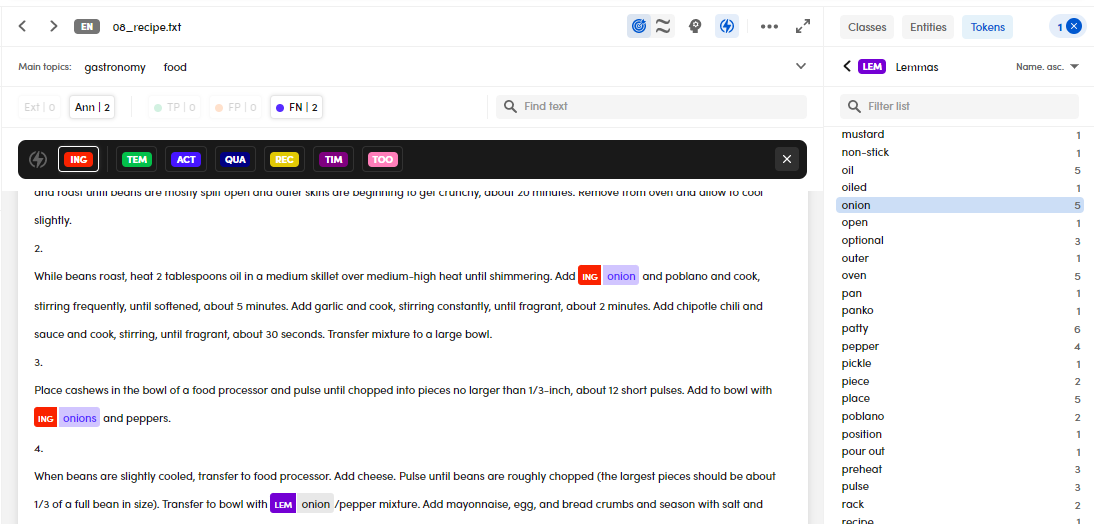
- In the fast annotation bar, select
INGthat is the chip that represents the Ingredients class. - In the right panel, select Tokens, then Lemmas
-
Select onion that is a potential ingredient, its occurrences will be highlighted in the document.
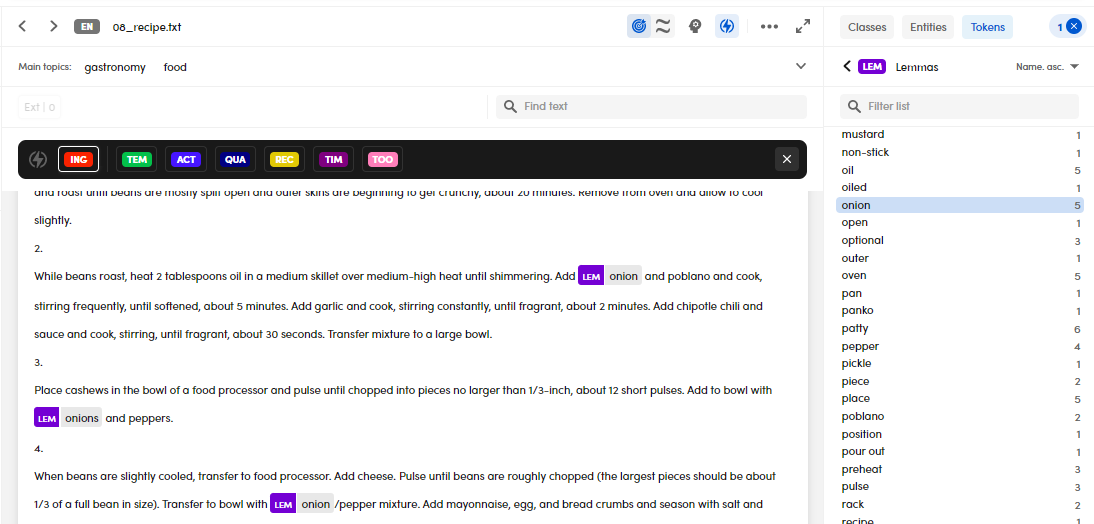
-
Select the occurrences of the lemma highlighted in the text to annotate them as ingredients
Set Fast annotation by default when opening a document
To set the Fast annotation tool by default when opening a document:
- Select
 or select Settings
  , then Annotations.
 - Switch on or off the Fast annotation
 radio button to enable or disable the feature.
Annotate by propagation
To annotate a document by propagation:
- Select an annotation in the text: a pop-up toolbar will appear.
- Select Propagate on the toolbar.

As a result, all the portions of text that are deemed similar to the annotation will tentatively be annotated and the propagation toolbar will be displayed.
Use the propagation toolbar to:

- Browse tentative annotations (A)
- Confirm individual tentative annotations (B)
- Delete a tentative annotation (C)
- Confirm all tentative annotations (D)
- Close the toolbar and delete all the tentative annotations (E)
Set the propagation suggestions types
To set the propagation suggestion types:
- Select or select Settings , then Annotations
-
Select or deselect the suggestion types you need among:
- Entities
- Syncons
- Lemmas
- Keywords
Annotate extracted values
Annotations and extractions are listed in the Classes tab of the right panel.
Extractions are available after experiments.
Annotate an extracted value in the text
- If not displayed, show the extractions.
- Select the extraction that you want to annotate.
- Select Annotate
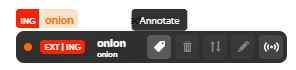 .
.
The chip quality color turns from orange (FP = False Positive) into green (TP = True Positive) and the extraction becomes an annotation.
 .
.
Note
It is possible to use Fast annotation and Annotation by propagation.
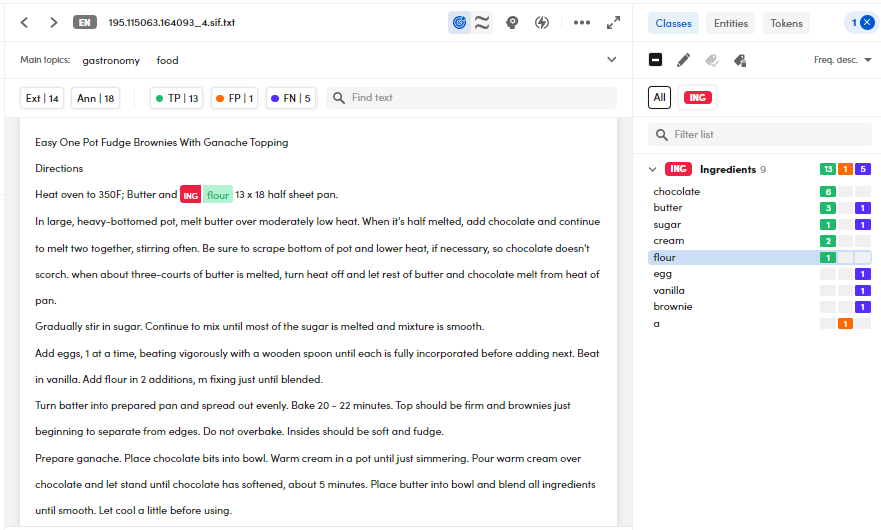
Annotate an extracted value in the right panel
- Select the Classes tab in the right panel.
- Select the extractions to annotate.
- Select Annotate selected item
 .
.
The extraction indicator in the right panel and the chip quality color in the text change from orange (FP = False Positive) to green (TP = True Positive).
Remove annotations
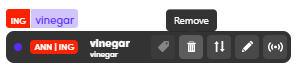
To remove an annotation from the text:
- If not displayed, select the annotation from the Class tab or show it with the Ann button.
- Select the annotation and select Remove from the pop-up toolbar.
To remove an annotation from the document:
- Select the Classes tab in the right panel.
- Expand the class.
- Select the value.
- Select Remove selected annotations
 from the panel toolbar.
To remove all the annotations of a class from the document:
- Select the Classes tab in the right panel.
- Select the class.
- Select Remove selected annotations from the panel toolbar.
Change the class of an annotation
To change the class of an annotation:
- If not displayed, select the annotation from the Class tab or show it with the Ann button.
-
Select the annotation in the text and then select Replace from the pop-up toolbar.
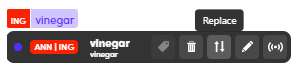
-
In the pop-up menu, select the new class.
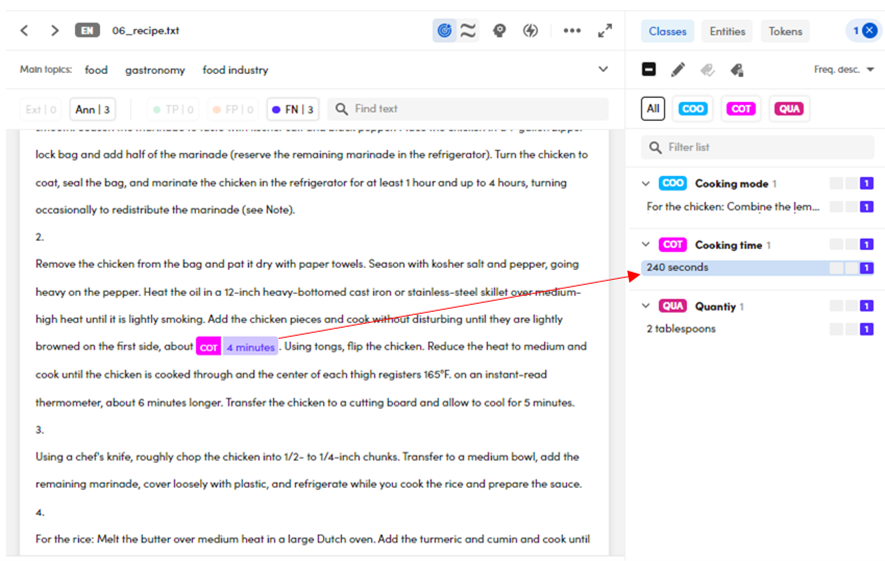
Edit the value of an annotation
This operation is useful in case you need to change a class value.
For example, if you have two different persons with the same name, it will be possible to discriminate by varying the value or to consider a different measure of the same value.
To edit the value of an annotation:
- If not displayed, select the annotation from the Class tab or show it with the Ann button.
-
Select the annotation in the text and then select Edit from the pop-up toolbar.
-
Edit the value in the dialog box.

-
Select Save.
Or:
- Select the Classes tab in the right panel.
- Select the annotation to edit.
- Select Edit
 .
. - Edit the value in the dialog box.
- Select Save.
The change has effect on the annotation but not on the document.
Move annotations
To move annotations from a class to another:
- If the advanced annotations utilities are not enabled, select the ellipsis
 , then Enable the advanced annotations utilities.
 - Select the class in the right panel, Classes tab.
- Select Shift selected class
 .
. - Select the target class from the Class drop-down menu in the Shift class annotations dialog.
- Select Save to confirm.
Clone annotations
To clone annotations from a class to another:
- If the advanced annotations utilities are not enabled, select the ellipsis , then Enable the advanced annotations utilities.
- Select the class in the right panel, Classes tab.
- Select Clone selected class
 .
. - Select the target class from the Class drop-down menu in the Shift class annotations dialog.
- Select Save to confirm.
Show annotations in a document
See Show specific items in the document.
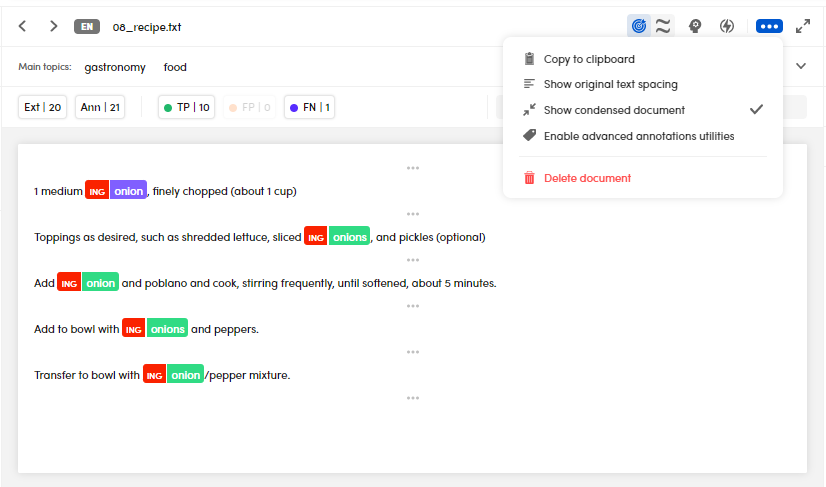
Show annotations or extractions in condensed document view
If you want to focus on the annotations and/or extractions in their sentences and remove the remaining redundant text:
Select the ellipsis , then Show condensed document.
Annotate in immersive view
Annotation management in the immersive view is the same as in the detail view. Just some collateral tools are missing.
Annotate in PDF document view
Annotation management in PDF document view is the same as in detail view. Just there are some light graphical differences.
To display the class short name, hover over the annotation.
Open the Settings Annotation tab
To open directly the Annotation tab in the Settings, select 
Normalize annotations to their base form
To normalize annotations to their base form:
- Select .
- Switch off or on the Normalize annotations
 radio button to disable or enable the normalization.
Or:
- Select Project settings , then the Annotation tab.
- Switch off or on the Normalize annotations radio button to disable or enable the normalization.