Manage models
Overview
Models are the text analysis engines produced by either running experiments or importing CPK files.
To access the list of all the models generated for the project, select the Models tab.
Sort the list
To sort the list select a column header. To invert the sort order, select the column header again.
Filter the list
To filter the models by engine, select Engine and check those you need.
To filter models by training library, select Train library and check those you need.
Tip
Use the search bar for rapid searches.
Change a model name
To change a model name, select a model, then select Edit model name  on the toolbar of the right panel.
Delete a model
To delete a model, select a model, then select Delete model  on the toolbar of the right panel.
Upload a CPK
See how to upload a CPK file.
Export a CPK
See how to export a CPK file.
Start an experiment with a specific model
To start an experiment with a specific model:
- Select the model.
- Select Quick start an experiment.
- In the Start an experiment dialog, type the optional experiment name, select a library, then select Start.
To start an experiment with a CPK:
- Select the CPK.
- Select Quick start an experiment.
- In the Start an experiment dialog, type the optional experiment name, select a library, then select Next.
- Check the summary, then select Start.
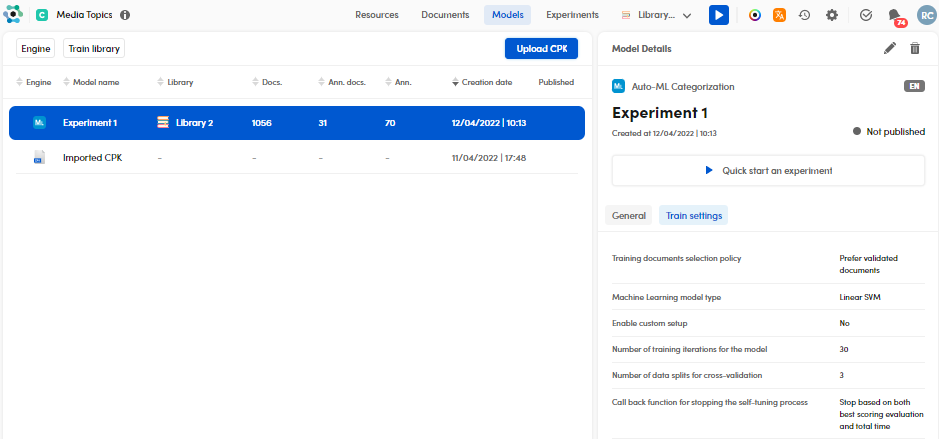
See the general and the training settings
To see the general training settings of a model, select a model, then select the General and the Train settings sub-tabs. The first sub-tab shows information about the experiment library, while the second one shows information about the experiment inner parameters.
Remapping
Since the imported CPK model may differ from the project you are working on, for example because it is produced at different times or by different users, it is sometimes necessary to remap it.
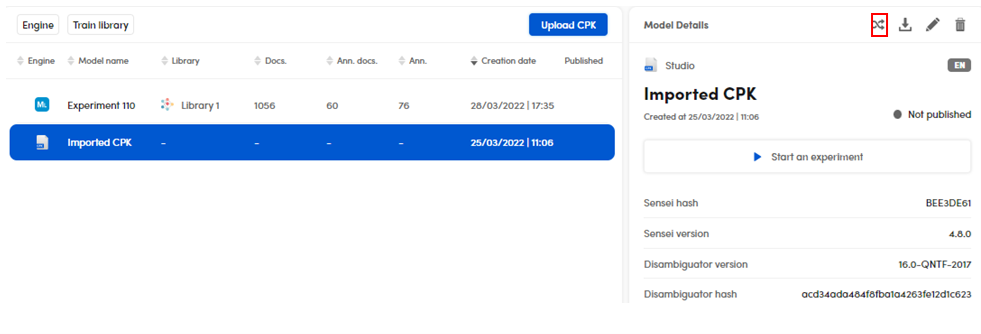
Select Remap CPK  if you need to remap the resources (categories in the categorization projects) between the CPK imported model and the existing project.
The remap view is displayed and the focus is on the imported CPK model.
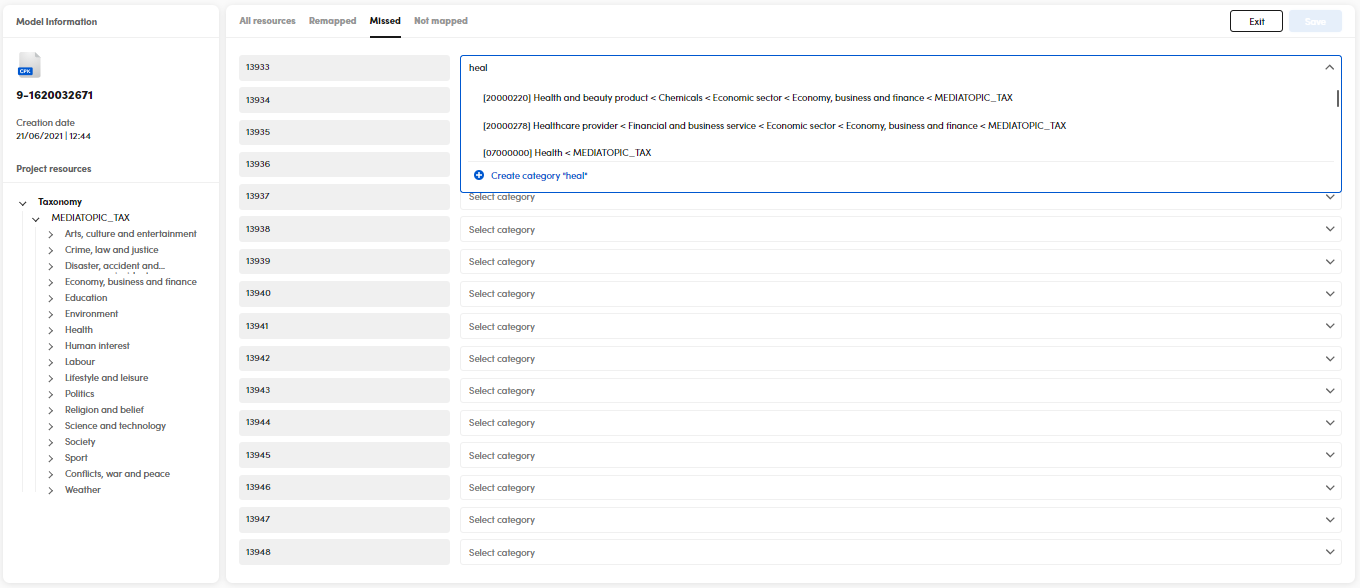
It is divided into two panels:
-
The left one shows the imported Model Information and the existing Project resources.
-
The right one shows four tabs that help you in the project remapping:
All resources
This tab shows the complete resources of the imported model and if and how they have been remapped.
If no automatic remapping occurred, no match will be shown. Therefore, it will be possible to perform a manual remapping, if it is considered appropriate.
If you want to manually remap a resource from the imported model to a category of the existing project:
- Select a category from the list box at the right side.
- Select Save to confirm.
This mapping will be displayed in the Remapped tab.
Remapped
This tab shows the remapped items, both manually and automatically.
Missed
This tab shows the imported model resources that don't have a mapping with the existing model resources.
If you need to remap a resource from the imported model to a category of the existing project:
- Select a category from the list box on the right side.
- Select Save to confirm.
This mapping will be displayed in the Remapped tab.
Not mapped
This tab shows the existing resources that don't have any mapping with the imported resources.