Create a workflow
The creation wizard
To start creating a new workflow, select the plus button  in the upper toolbar of the dashboard, then choose Workflow project.
In the New workflow dialog enter the mandatory workflow name and, optionally, a description, then select Create workflow. A wizard starts.
-
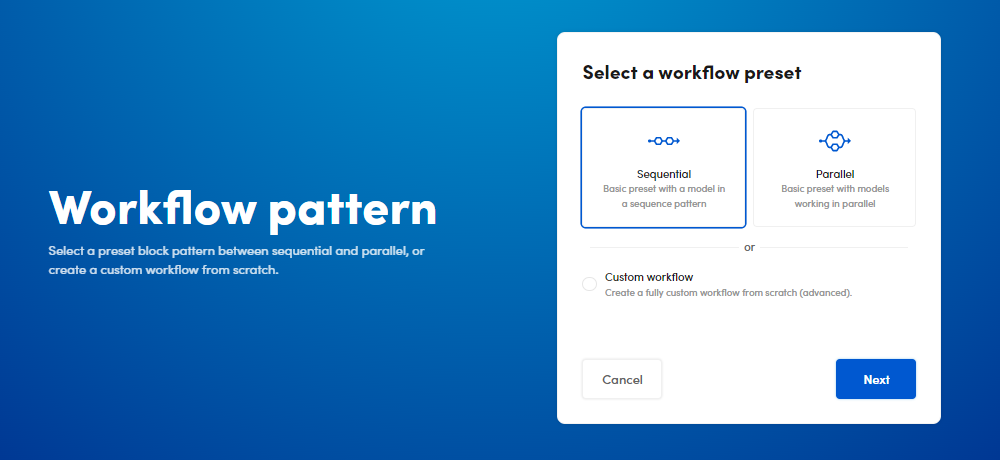
In Workflow pattern you can choose between:
- A workflow preset (Sequential or Parallel)
-
A custom workflow
-
If you have selected a workflow preset:
-
Select Next.
-
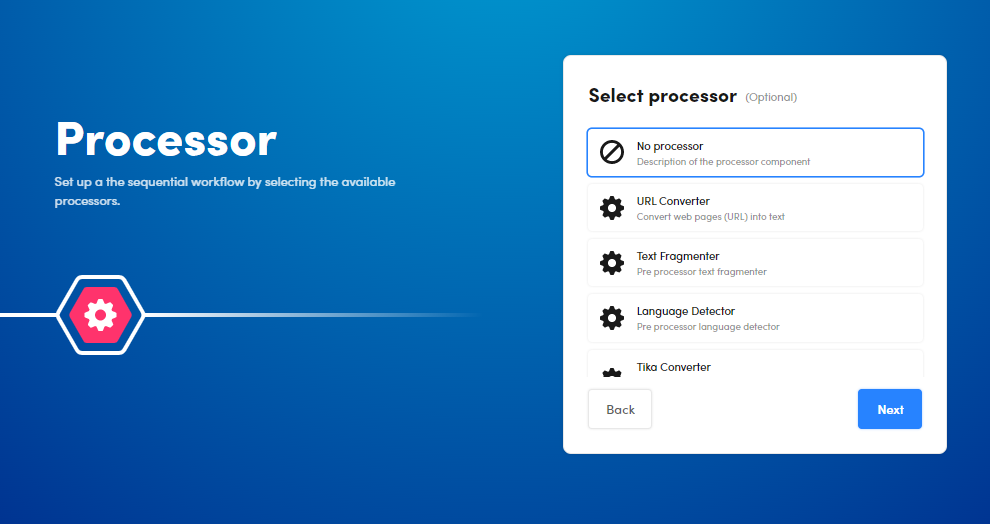
In the Select Processor you can select an optional pre-processor to put in the workflow before the model.
-
Select Next.
-
If you have selected Sequential:
-
Select the model to include in the sequence or upload one.
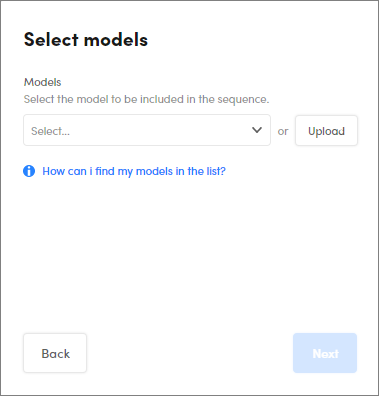
Info
You can upload and include more models later in the workflow editor.
-
-
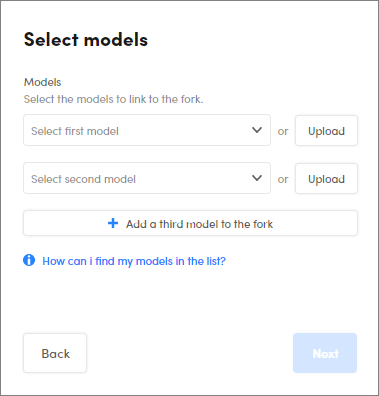
If you have selected the Parallel:
-
Select the models (up to three) to use or upload them. To include or upload the third model, select Add a third model to the fork.
-
Info
Available models have been previously published in the Platform authoring part or previously uploaded or pre-installed.
-
-
Select Next.
-
Select the optional post-processor in the Operator window.
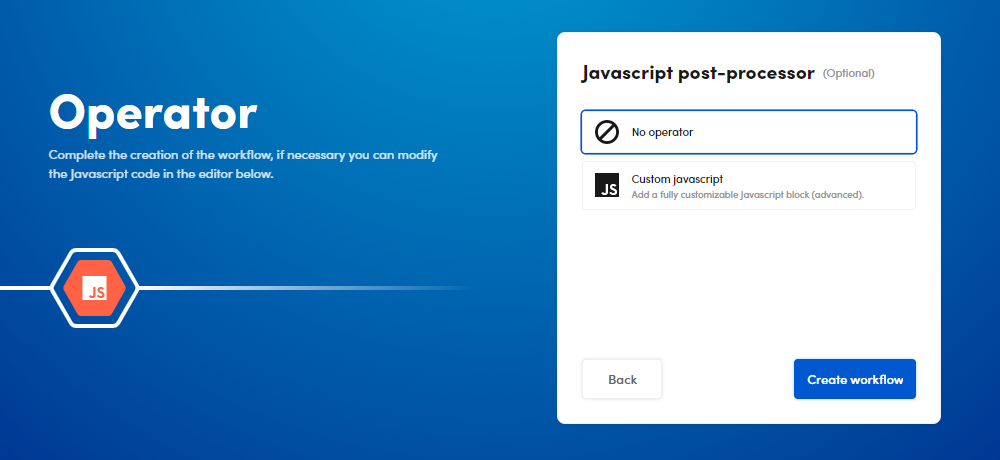
-
Select Next and the workflow editor opens, showing the pre-built workflow.
Or:
- If you have selected Custom workflow, select Create workflow to end the wizard and start drawing the new workflow from scratch in the workflow editor.
Import a workflow
To import a workflow:
- Select the plus button in the upper toolbar of the dashboard, then Import Workflow.
- Select the workflow file to import (maximum size allowed is 4 GB).
- Select Upload to confirm.