Create an extraction project
Annotate provides a four step Extraction wizard to create a new extraction project:
Create an extraction project with the Extraction wizard
The wizard procedure depends on the number of items already present in the dashboard.
- Go to the main dashboard.
If there are no projects or corpora created
- Select the Extraction project card.
Or:
- Select the plus button
and then New Extraction Project. This creation procedure is always available.
If there are other existing projects or corpora but not extraction projects
- Select Extraction
in the left menu, then Create your first project.
If there are other existing extraction projects
- Select New Extraction project
in the Create item area
Or:
- Select Extraction
in the left menu, then select New Extraction project in the Create project area.
Common preliminary steps
- In the New extraction project dialog enter the mandatory extraction project name in Project name, select the technology version from the Tech version drop-down menu and enter the optional description in Description.
- Select Create.
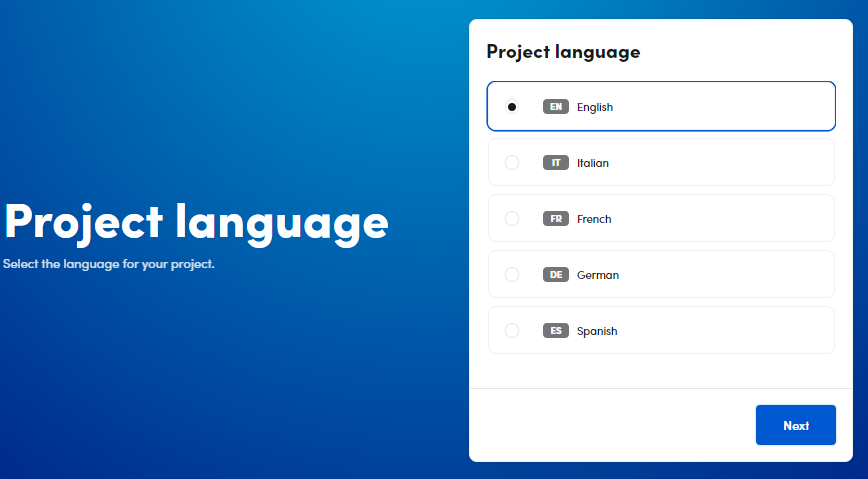
First step: Project language
In the Project language page, select the project language for your project, then Next.
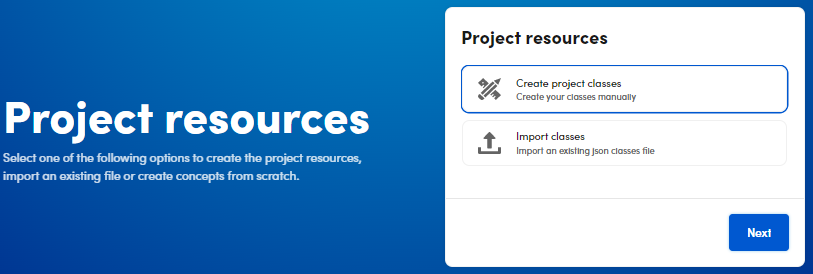
Second step: Project resources
In the Project resources page:
- Select Create project classes to create the classes from scratch, then Next.
- In the Create classes window, enter a class and then press
Enterto add the next one, select Next when you have ended the class creation to go on. - The classes are then displayed in Resources. It is possible to edit them. Select Next to go on.
Or:
- Select Import classes to import an existing classes structure in XML file.
- Select an XML file from the file system.
- The classes are then displayed in Resources. It is possible to edit them. Select Next to go on.
Third step: Project library
During this step you provide one of the libraries needed to train and test the ML model. More libraries can be added later.
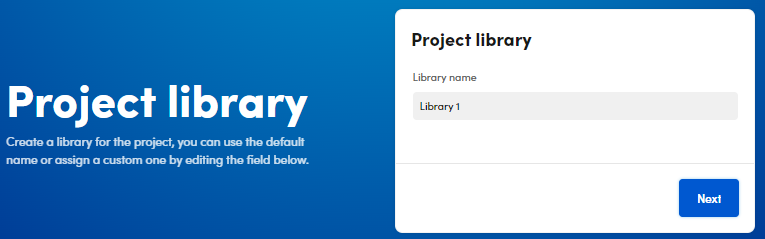
In the Project library dialog:
- Enter the library name in Library name (optional step).
- Select Next.
-
In Corpora and folders, select the source for the library. You can select an existing corpus or upload documents from the file system.
Info
If you want to use a corpus, you can use these tools to find it:
- Use the search bar to look for a corpus. Your search must contain at least three characters.
- Select the X button
 to reset the search criteria.
 - Select Show table view
 to view your corpora in a table format.
 - Select Show card view
 to view your corpora in a card format.
 - When in card view, you can sort items by selecting one of the options from the drop-down menu.
- When in table view, you can sort items by selecting the desired column header.
The information displayed in the existing corpora is the same displayed in the Corpus info sub-panel of the main dashboard.
Warning
Corpora displayed are related to the Tech version selected previously in the New extraction project dialog.
If you choose to upload documents:
-
Select Upload.
-
Select Show advanced settings:
- If you want to disable automatic language detection: turn off Autodetect language and choose the language from the Select language drop-down list.
- If you want to disable automatic character encoding detection: turn off Autodetect encoding and choose the encoding from the Select encoding drop-down list.
- If you later want to save the uploaded documents as a new corpus: select Save as corpus and enter a name for it.
-
When done, select Hide advanced settings.
-
-
Select Add files.
- Select the files to upload.
The selected files are displayed in a list and can be deleted by clicking on the "X" button at the right of the file name. -
Select Upload.
When the upload is complete, a temporary uploaded corpus is created and made available in the window.
Supported formats and limits
Supported document formats are those managed by the Apache Tika toolkit. Documents are automatically converted to plain text files during upload.
Documents are ignored if:
- They are empty.
- They mainly consist of nonsense words.
- (In case of automatic language recognition) Their language is unrecognized or not supported.
-
They exceed the following values:
- 50MB for
.zipfiles. - 50MB for
.txtfiles. - 50MB for other file types.
- 50MB for
-
Select the temporary uploaded corpus you created by uploading documents or a pre-existing corpus.
- Select Next.
It is also possible to upload an annotated library.
Fourth step: Summary
The last step shows the project details of the previous steps, like the project name, the description, the language, etc.
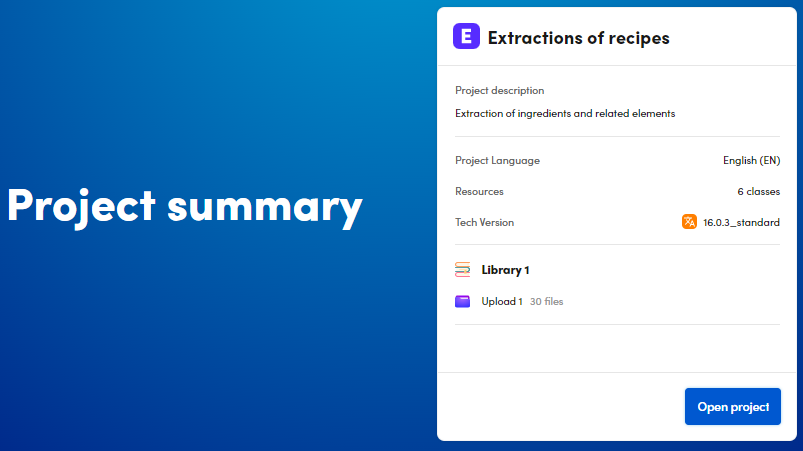
Select Open project to end the wizard process and start working on the project.
Info
To quit the wizard at any time:
- Select Exit wizard in the upper right corner.
Or:
- Select the expert.ai icon
 in the upper left one.
 - In the Save changes dialog you can select:
- Cancel to quit.
- Delete project to delete the project.
- Save to save the project at that step and then reopen it from the main dashboard and continue with the wizard at a later time.