Manage models
Overview
Models are the text analysis engines produced by running experiments or imported in the project.
To access the list of all the models of the project, select the Models tab.

Models are listed in the Models area on the left.
Note
In case of multi-language projects, a single experiment generates a number of models equal to the number of languages.
There are two panels:
- Model Details
- Knowledge graph
Models area
The Models area on the left lists all available models.
The models marked with a green dot are those that have been published, i.e. made available for inclusion in workflows.
Select a model in the list to view its details in the Model Details panel.
It is possible to perform other actions.
Search for a model
To search for a model, use the search bar (at least three characters).
To reset the search criteria, select the X  beside the search bar.
Sort the model list
To sort the model list in ascending or descending order, based on name, creation date, annotations etc., select the corresponding drop-down menu.
Filter the model list
To filter the model list based on the engine, select the Filter models drop-down menu and check the engine you need.
Upload a CPK
To upload a CPK:
- Select Upload CPK
 .
. - In the dialog, select Browse files to select the file.
- To eventually replace the selected file, select Replace file.
- Select Upload CPK.
Model details
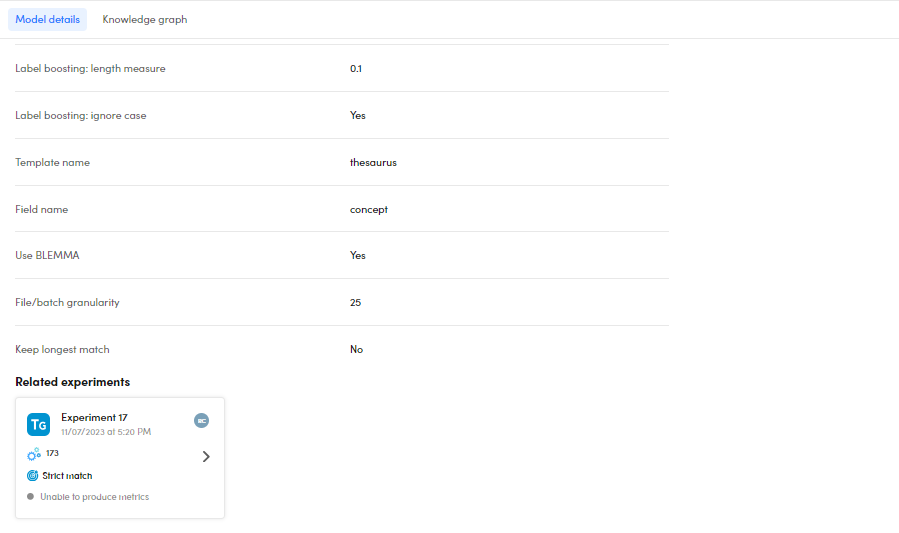
The Model details panel summarizes the details of a selected model.
For each model, there is the:
- Model type
- Model name
- Creation date and time
- Eventual green dot if the model has been published.
- Number of input documents and generation time.
- Report of the experiment parameters.
- Related experiments sub-panel.
See related experiments
You can check the related experiments in the Related experiments sub-panel.
Double-click an experiment. You will see the experiment quality.

Create a Knowledge Graph Customization project
To create a Knowledge Graph Customization project based on a CPK:
- Select a model in the model list, then select Knowledge Graph Customization on the right side of the panel.
-
Select the technology version from the Tech version drop-down menu.
Note
Knowledge Graph Customization projects can be created only starting from a CPK with Disambiguator version 16.1 or higher
-
Select the CPK from the CPK drop-down menu.
- Type the project name, an optional description and select Create.
Note
The project creation will occur as a background task.
Publish and unpublish a model
Publishing a model makes it available for inclusion in workflows.
To publish a model, select it from the list then select Publish model on the right side of the panel.
Note
If you publish a generated model—not an imported CPK—you will be asked to confirm or change the model name.
To unpublish a model select Unpublish model on the right side of the panel.
Export a model
To export a model:
- Select Export CPK on the right side of the panel.
- In the Export CPK window, type the model name in File name, or confirm the suggested one, then select Export CPK
 .
. - Select Download either in the window or in the notification in the lower right corner.
Change a model name
To change a model name, select Edit model name on the right side of the panel.
Delete a model
To delete a model name, select Delete model on right side of the panel.
Knowledge graph
Use the Knowledge graph panel to navigate the Knowledge Graph of the selected model.
Use the search bar to look for concepts (at least one character). Automatic suggestions are displayed as you type.
Press Enter or select the magnifying glass  to start the search.
To reset the search criteria, select the X  beside the search bar.
At the bottom of the panel, the number of concepts and lemmas is specified.
If you navigate the Knowledge Graph from the Knowledge graph panel instead of using the button on the common toolbar, only the list view is available.
Note
If you switch to the Model details panel in the middle of the navigation, the search will be reset.
Start an experiment with no models
To start an experiment with no models in the Models tab, select Start an experiment, then follow the procedure described in the dedicated page.